If you’re here, it’s because you want to learn how to create your own YouTube studio setup at home. I’m going to teach you how to do just that while giving you a sneak peek of my setup.
Who says you have to break the bank to have a professional setup? I film all of my videos in my bedroom and living room and you can, too.
This week, I’m giving my viewers a behind-the-scenes look at my entire YouTube setup, as well as a rundown of all the equipment I use to produce professional videos.
When it comes to YouTube, my mantra is look good, but don’t spend too much money.
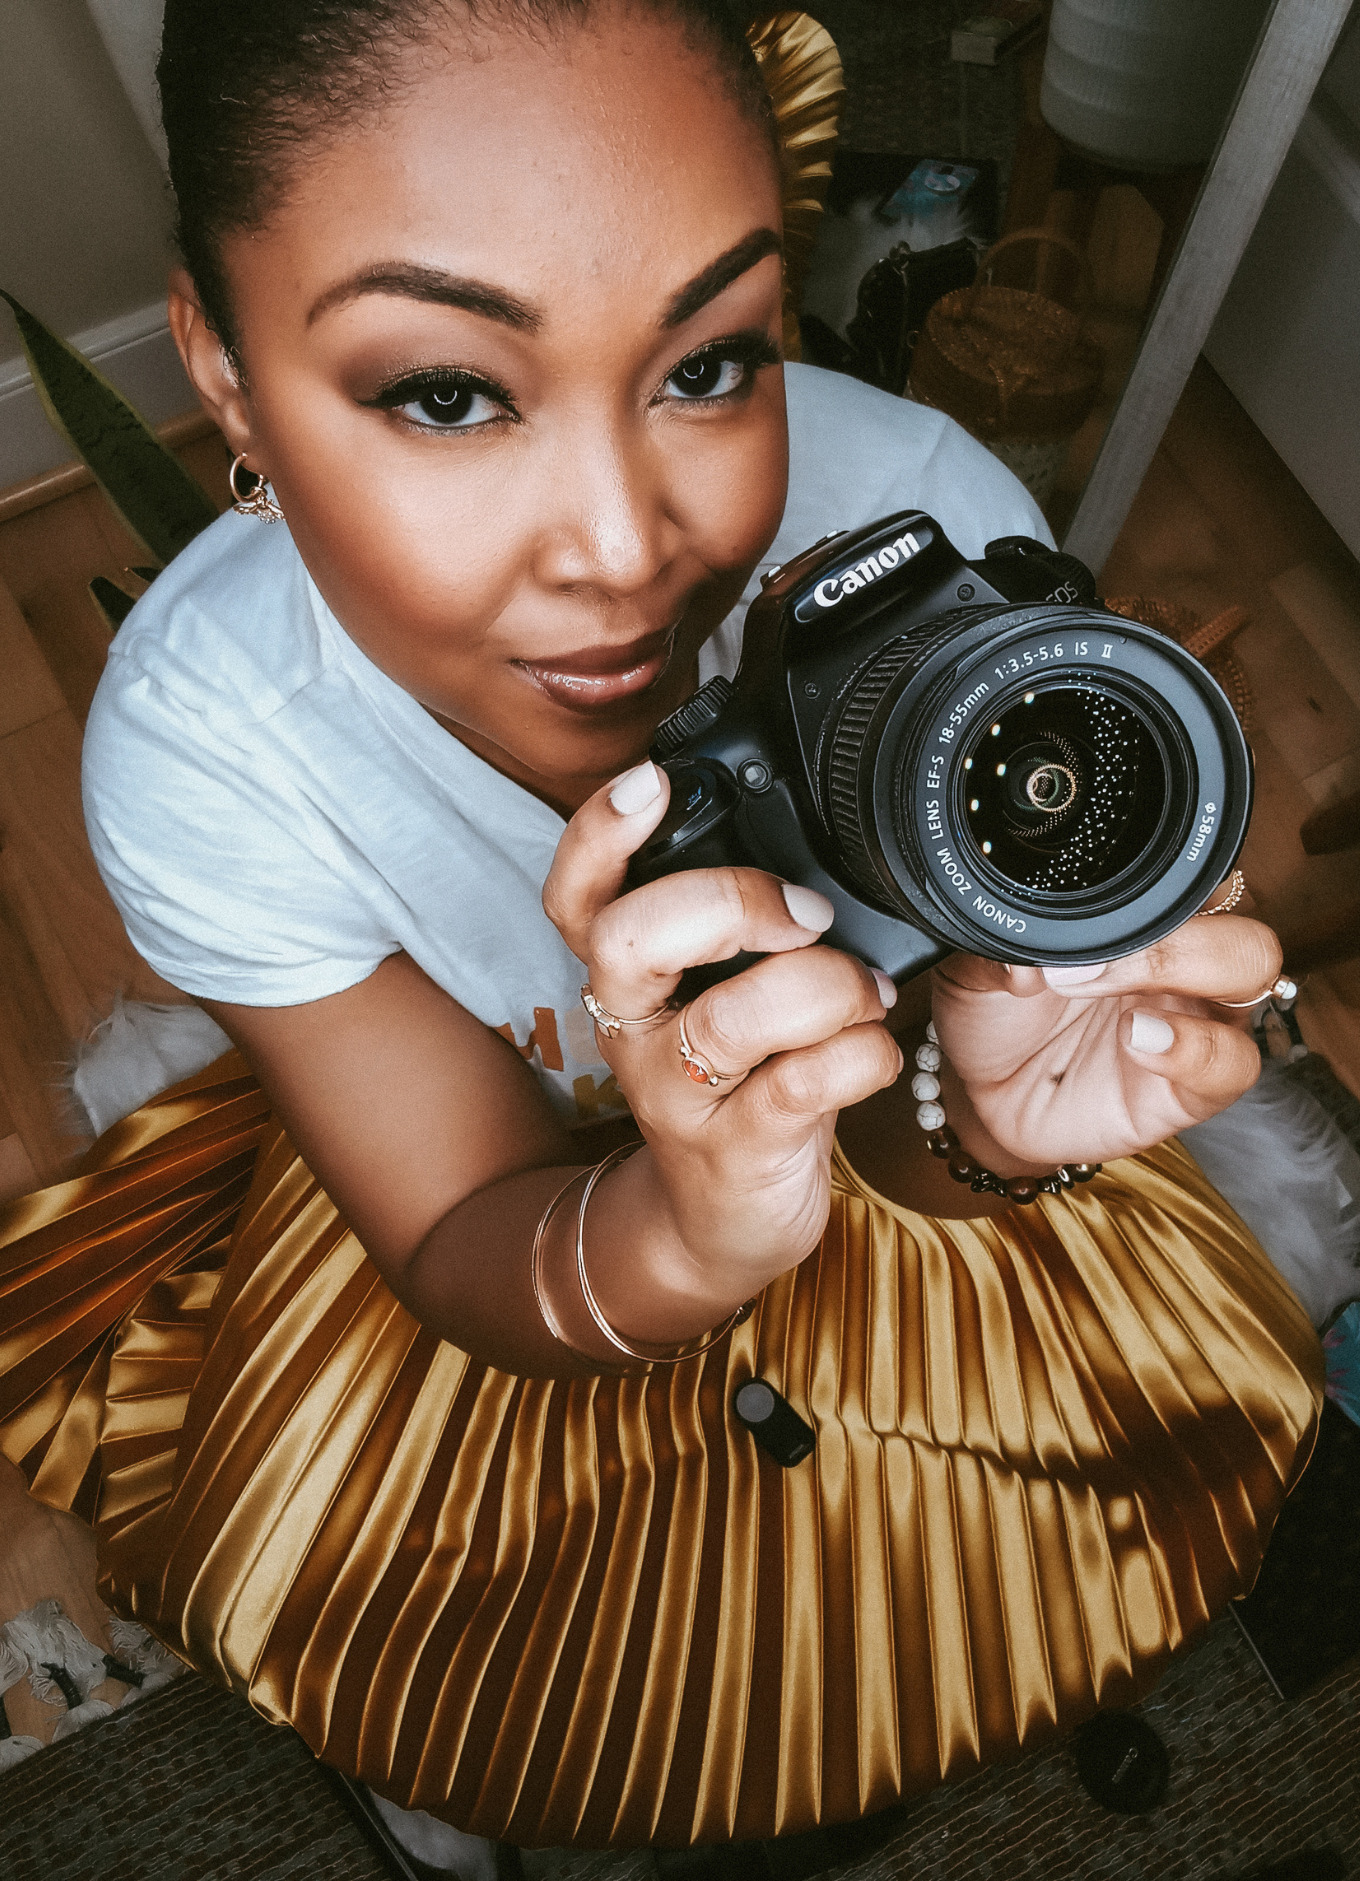
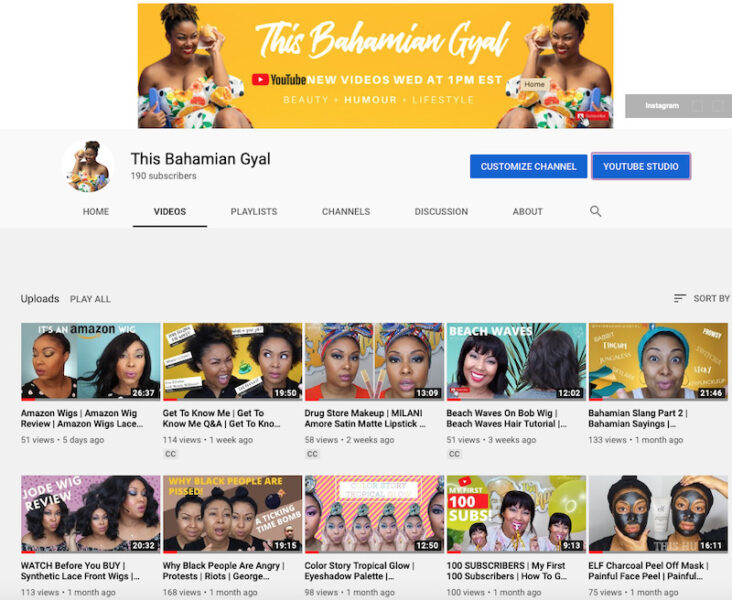
When I first launched my channel last October, I filmed in the living room of my townhome in The Bahamas. If you watch my Halloween tutorial video, you’ll see what I’m talking about.
The space wasn’t big, but it was well-appointed and provided enough character in the background to keep the video interesting.
I didn’t always have background paper, so I used the wall in my house, like in this video.
I’m one of those people who binge watches YouTube. In fact, I watch it more than television. So, I’m always looking at YouTubers and their setup.
I knew that in order to keep my channel visually interesting, I would need to invest in a few items to increase the quality. So, my channel needed four things: great lighting, great sound, great editing software and most importantly, in my estimation anyway, great content.
My YouTube filming equipment
The editing software
When I first started YouTube, I used the editing software that came preloaded on my iMac, iMovie. I used to think that I couldn’t start YouTube unless I had Apple’s expensive Final Cut Pro (which retails for $300). So, I put off editing.
It was my niece, Ashlee, who showed me that it was possible to produce high-quality videos on iMovie.
I’ll admit, iMovie does not have the same capabilities as Final Cut Pro. But, with a little creativity and some tech hacks, you can do things to make the software behave more like it’s big brother, Final Cut Pro.
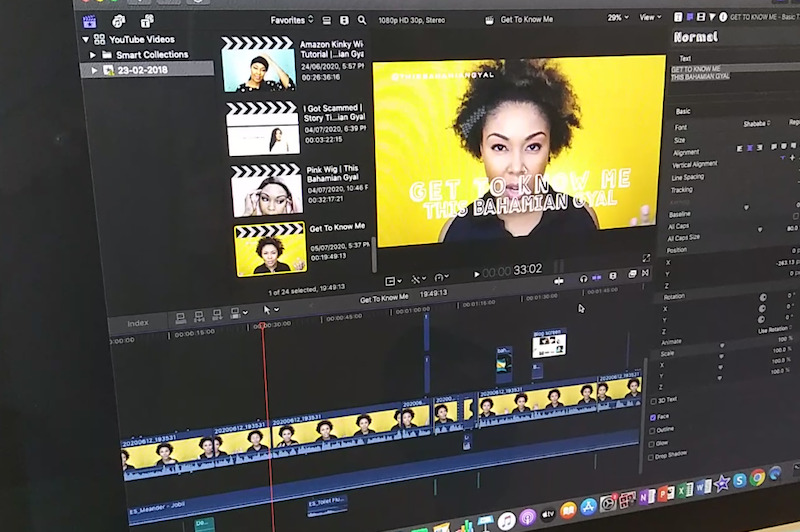
Many of my videos were edited on that software. But, as my skills increased, so did my desire to do different things that iMovie simply could not do.
So, I downloaded a free 90-day trial of Final Cut Pro X and the rest is history.
I purchased my backdrop paper from a company on Amazon called Savage. They specialise in paper. It always arrives on time and in great condition. You can see an example of the blue that I purchased here.
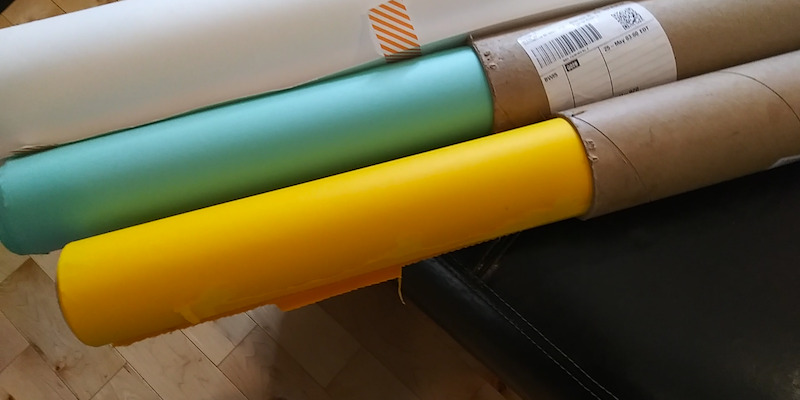
But, as I mentioned earlier, you can always use a blank wall in your house. Environmental shots are also nice. So, tidy-up your room and hang a few string lights/Christmas lights to give a warm ambience and your’re good to go.
Lights!
Lighting is incredibly important. Who wants to sit through a 10-minute video and not see the host or the products he/she is showing? So, if you do nothing else, make sure your videos are well-lit.
You can position yourself in front of a window so that the light streams in. Just make sure your camera is not facing the window or you will appear dark. Instead, position the camera to point in the same direction the sun is coming in to the room. You want the light and the camera to be on your face.
So, technically, you don’t have to buy lights. You can shoot footage in the daytime. But, if you plan on recording at night or in the early morning hours, the lights in your home may not be enough.
I invested in a ring light and some inexpensive umbrella lights on Amazon. They work fine.
Camera!
Let me let you in on a little secret. I have an expensive Canon Rebel T3 camera, but I use my cheap LG phone to record my videos. I got my camera for free from Metro PCS and that is what I use every time.
Some of you have iPhones and expensive Samsungs. Chances are, your phone is much better than mine and gives off better quality.
This is further proof that you don’t have to spend a lot of money to get your channel started. As your channel grows, you can purchase equipment. But, for now, use your cell phone and get rolling.
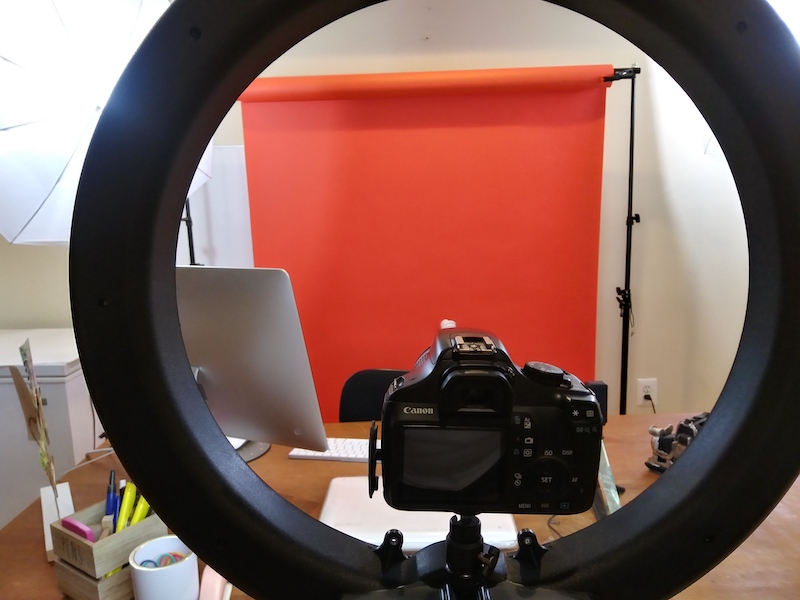
It’s also important that you have a good tripod to hold either you cell phone or camera. There’s nothing worse than shaky footage.
Sound
I use an inexpensive Movo microphone for all of my recordings. It comes with the fuzzy windscreen to block the popping sounds. I attach it to my cell phone and it gives me great sound quality.
If you cannot afford an external microphone, use the one on your cell phone. I would suggest you try your best to insulate your room before recording so that it doesn’t sound airy.
If you are recording a voice over, put a blanket or towel over your head and hold the phone close to your mouth while recording. The covering will block some background sounds.
As you can see, I have given you alternatives to all of my equipment. You can use the sun for lighting, a blank wall or even your room/living room for your backdrop and your cell for audio. And as I mentioned, Apple offers free trials for its editing software.
If you don’t have access to that free trial, you can also edit on your cell phone. There are tons of free apps on Google Play (Android) or App Store (Apple).
Don’t forget to subscribe to my channel.
Follow me on my social media platforms.
XOXO,
This Bahamian Gyal
